How to replace the keyboard on a MacBook?
In many cases, you will need to repair or replace an Apple laptop keyboard. Most often, liquid gets into it, and this causes corrosion, sticky keys, short circuits, etc. In other cases, the keyboard may be damaged after a strong impact, pressure, or if there is a lot of debris and dirt inside.

I note that on new models of MacBook Air, MacBook Pro, it is better to order a complete topcase: the keyboard with the top cover and battery. This is due to the fact that the battery is firmly glued to the keyboard, in addition, as a rule, at the time of repair, the battery also needs to be replaced. That is, you can install a new keyboard, and after a while the battery will fail. However, previous models with a removable battery can be replaced individually. Today I will tell you how this work is done.
Mac keyboard replacement procedure
I describe a step-by-step work plan, as it is done in professional service centers.
- Diagnostics. First of all, the specialist inspects the damage. As I wrote, the keyboard rarely breaks for no reason, usually it is preceded by water ingress or physical damage. In case of moisture: disassembly, drying and cleaning of the laptop will be required.
- Macbook teardown. Along the perimeter of the bottom cover, we unscrew all the screws and remove it. We turn off the battery, disconnect all cables and some other components to get full access to the keyboard.
- Peeling off the keyboard lining. The lower part of the keyboard block is covered with a special film. To remove, you need to unscrew a few screws and carefully peel off.
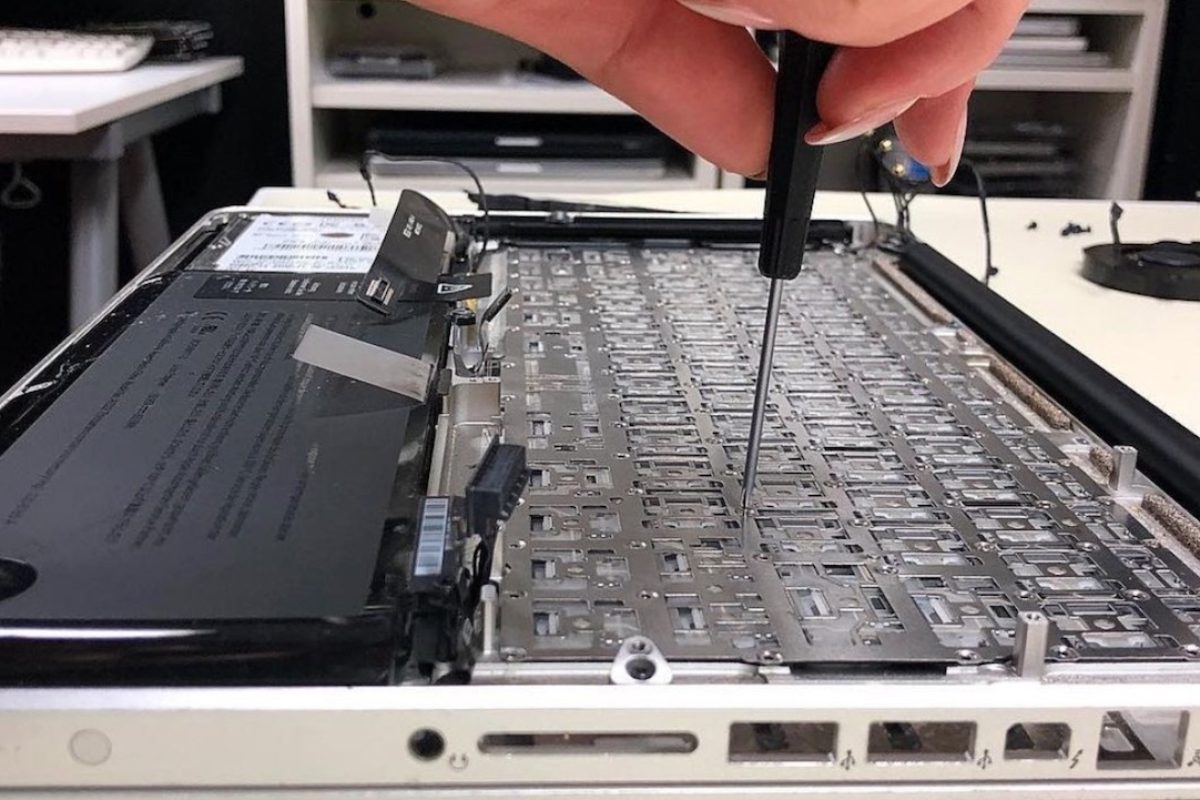
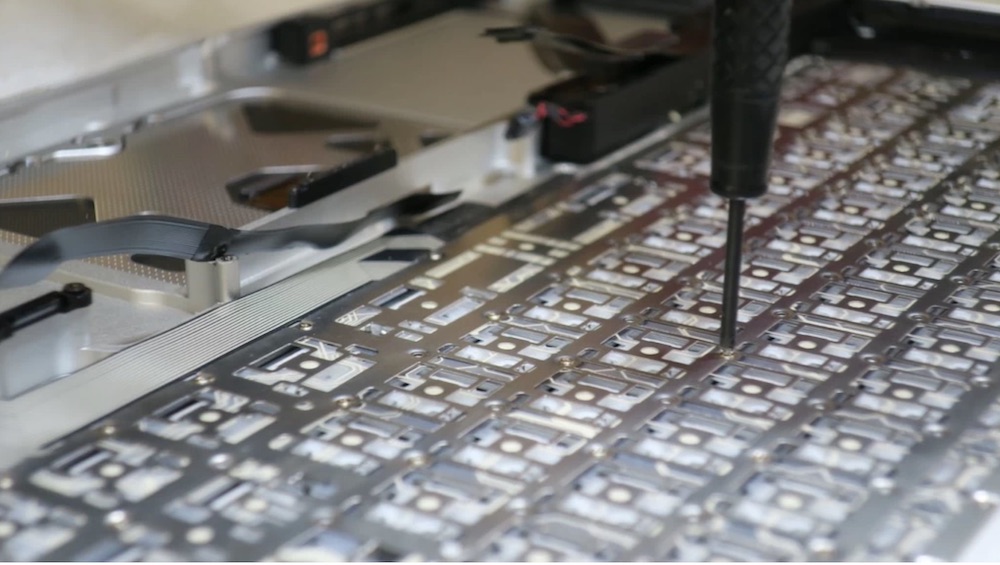
- Removing the keyboard. Now we can remove the keyboard unit, for this we need to unscrew a lot of small screw fasteners. The work takes some time, it must be done very carefully. After that, we take out the damaged keyboard.
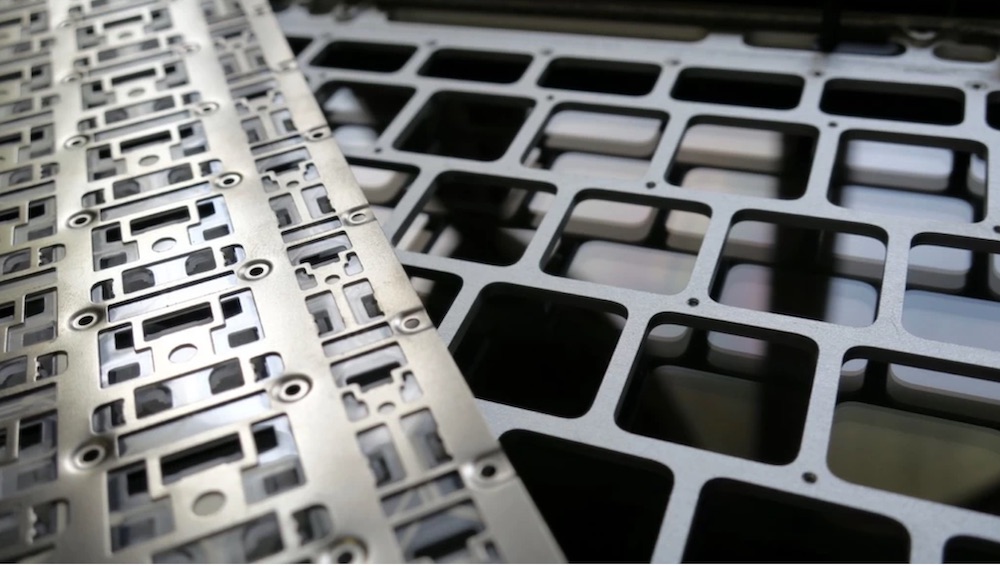
- Cleaning and preparation for replacement. We carefully clean the inside of the topcase and the keyholes from the remnants of liquid, dirt and dust.
- Installing a new keyboard. We install the new original component in the reverse order. When assembling, we carefully check all the fastening screws, because they are of different lengths, an error can damage the case. After mounting the keyboard, re-glue the substrate, connect the display and all cables.
- Testing. The final stage of work is the test of a new part. We check the performance of each key, the operation of the backlight. Treat this procedure as carefully as possible, because if you do not notice the error in time, this will lead to re-disassembly and its elimination.
Read more useful instructions in the Technique section!